
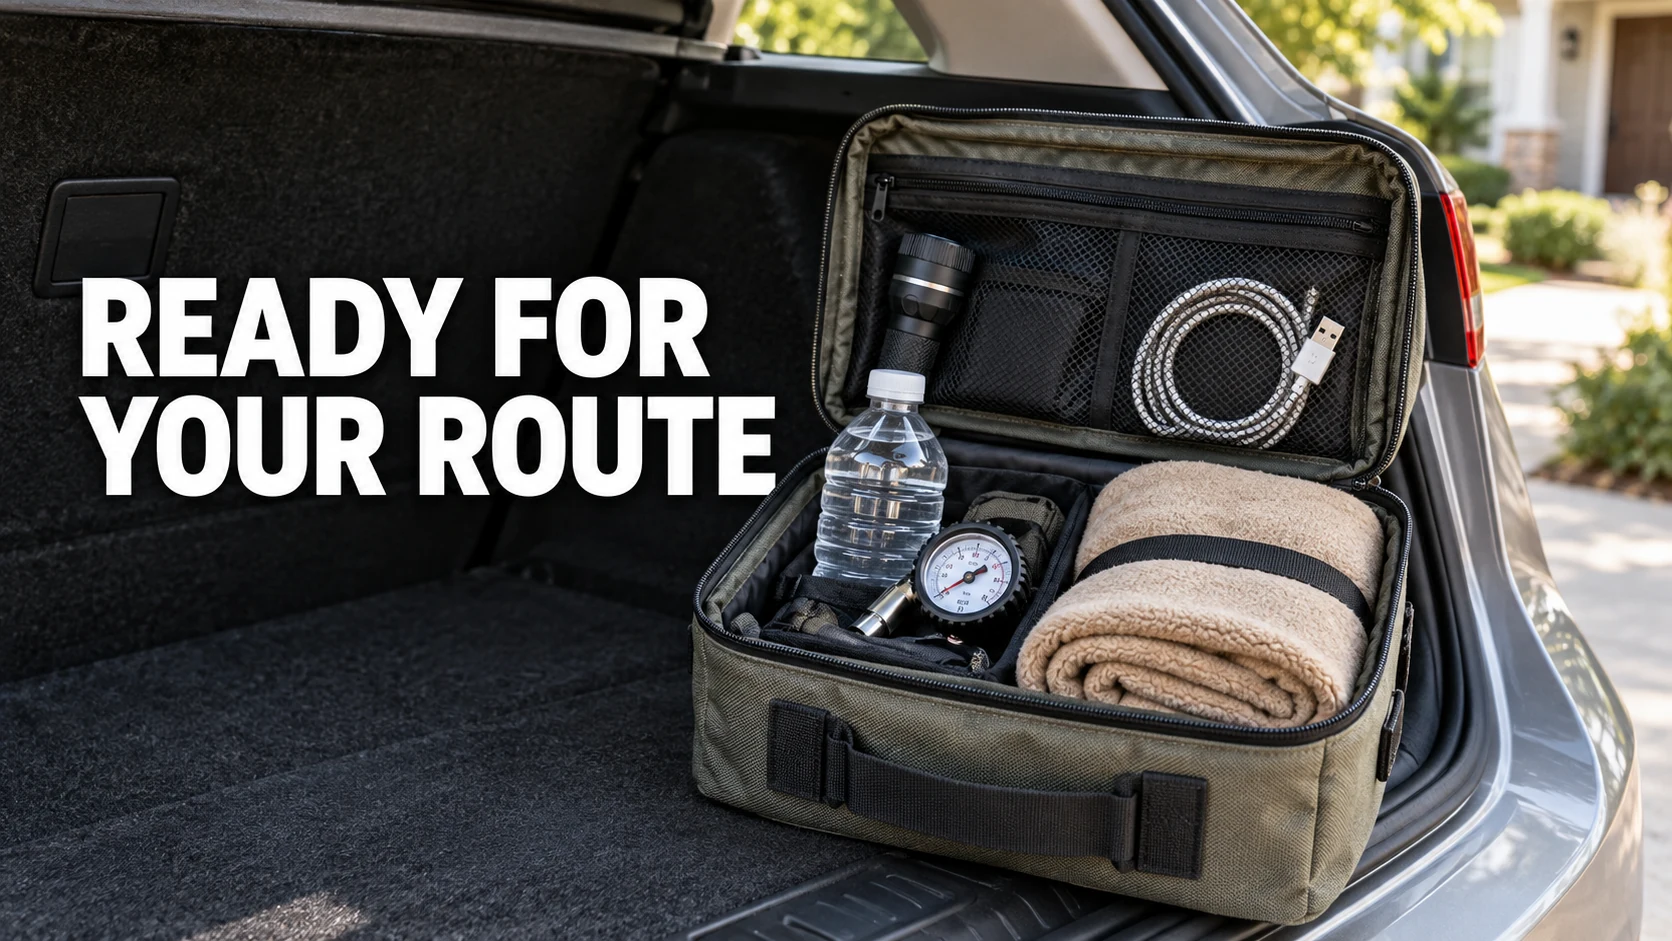
A crowded emergency bag can look reassuring while missing the one cable, fitting, or instruction your car needs. This car emergency kit buying guide starts with your normal driving: who rides with you, where you park, and what happens if the journey stops unexpectedly. The goal is a usable collection, not the largest advertised piece count.
Start with equipment you already own. Check its condition, find its instructions, and identify genuine gaps. This is a planning guide based on official safety guidance and manufacturer documentation, not a hands-on product test. Your vehicle manual and each tool's instructions control compatibility and use.
Match the kit to your route and passengers
Write down three realistic situations: a delayed commute after dark, a low tire discovered at home, and a longer wait for assistance away from town. For each, ask what would help you contact someone, stay comfortable, or make a safe decision. This exercise separates useful equipment from items bought for scenarios you are not prepared to handle.
Account for the people in the car. A solo commuter and a family traveling with children need different quantities and access arrangements. Include essential personal supplies appropriate to their storage instructions. If medication cannot tolerate vehicle temperatures, it belongs in a carry-with-you routine rather than a permanent trunk bag.
Make two lists: equipment that can remain stored as directed, and items you bring before a trip. A bag cannot solve temperature restrictions by keeping everything together. Treat the second list as part of departure preparation, alongside your phone and keys.
Make help and visibility the first layer
Keep the assistance number you would actually use, relevant membership details, and a working phone-charging arrangement available. Check which service your coverage provides and how to request it. An account name is less useful during a breakdown than knowing the number, vehicle details, and location information you will need.
Choose a flashlight you can operate easily and check its power source. Consider whether you can retrieve it without unloading the trunk. Reflective equipment can be useful, but owning it does not make stepping into traffic safe. Never enter a traffic lane to position equipment; where stopping or exiting is unsafe, contact emergency services and follow their instructions.
For winter planning, NHTSA recommends supplies including a flashlight, blankets, food, water, and a phone charger. Its guidance also addresses snow-blocked exhausts and carbon monoxide. Read that guidance before winter travel; do not improvise an engine-running routine from the contents of a kit.
Choose tire equipment for a defined job
A tire gauge answers a measurement question. An inflator adds air. Neither establishes why pressure was lost or whether a damaged tire is safe. Make that distinction before buying a bundle that presents every tire problem as something you can handle yourself.
NHTSA advises using the vehicle's recommended pressure and checking tires cold. Find the tire-information label and manual before you need them. Do not substitute the maximum pressure marked on the tire for the vehicle's target.
For the gauge, prioritize a readable scale, a suitable pressure range, and an attachment you can use without struggling. Digital versus dial is a handling preference until there is credible accuracy evidence for the specific models. A screen alone does not demonstrate a better measurement.
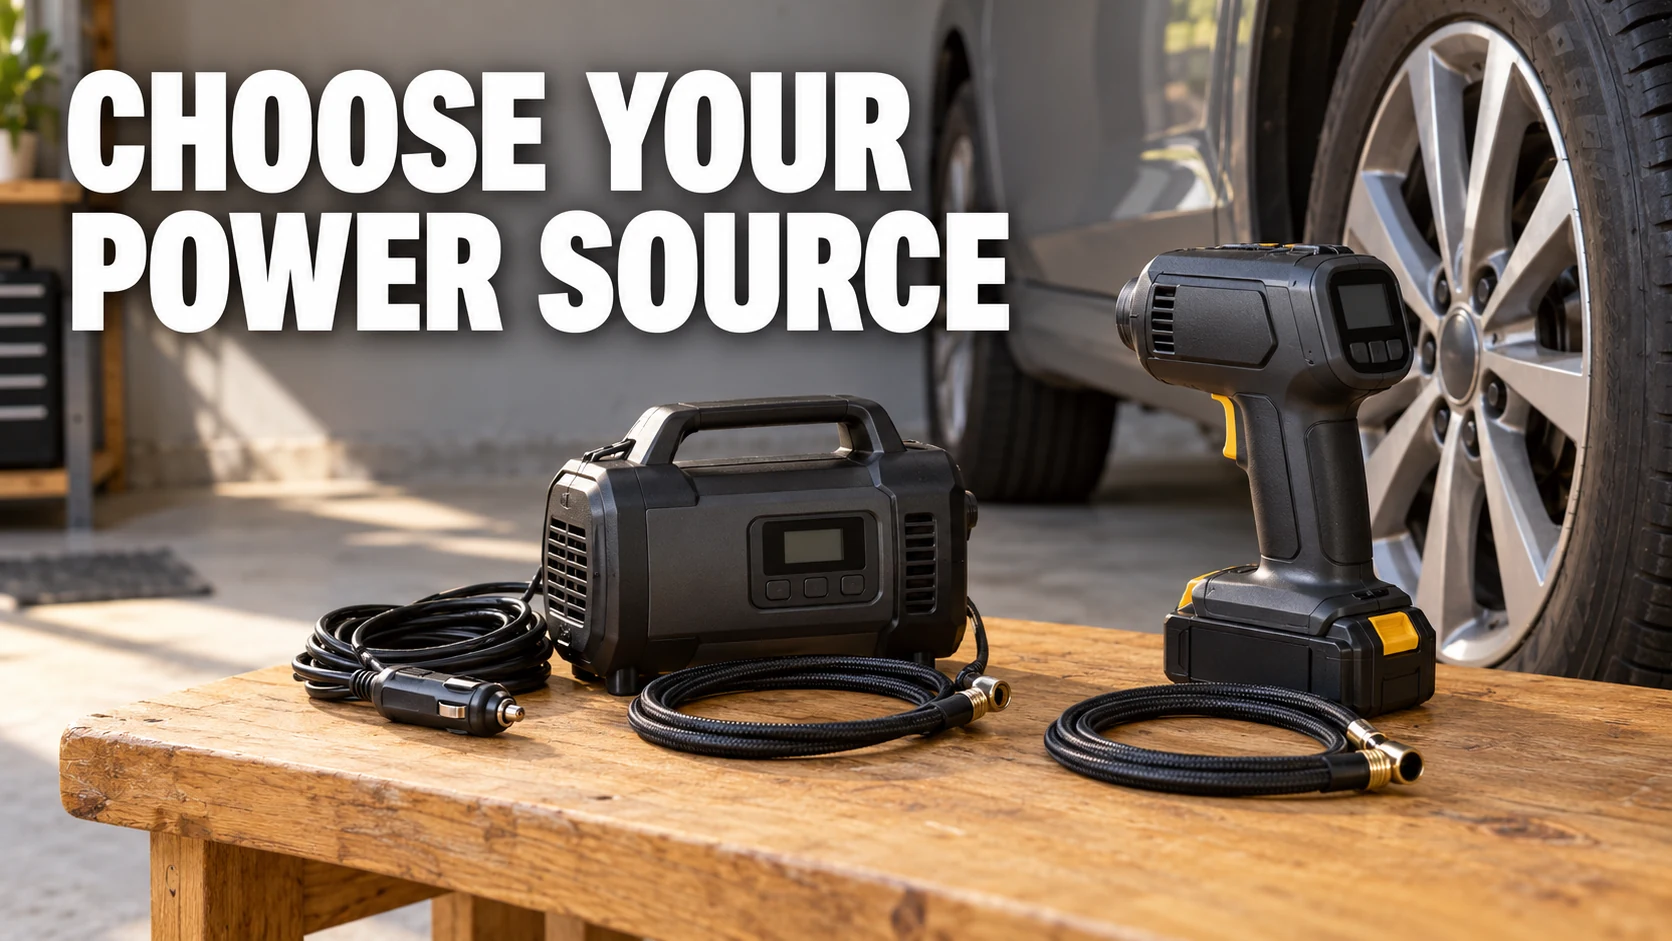
For the inflator, check the power connection, cord and hose reach, supported tire use, operating limits, and storage instructions. A device that fits neatly in the bag but cannot reach the farthest valve from the correct power source is a poor match. Check reach while parked at home, before relying on it during a journey.
For a 12V inflator, check outlet compatibility and cable reach. For a cordless model, verify battery availability, charging requirements, and storage limits. Compare the exact package and instructions; neither type is universally faster or suitable for every vehicle.
Visible damage, repeated pressure loss, or uncertainty about a tire's condition calls for professional assessment. An inflator is not a repair. Do not use it as a reason to continue a journey on a tire whose condition has not been established.
Decide whether battery-starting equipment fits your plan
Jumper cables and a portable jump starter solve different logistical problems, but neither is universal equipment for every vehicle. Before purchasing, locate the vehicle manufacturer's starting-assistance instructions. Check whether the procedure is permitted, which connection points apply, and what equipment is specified. Hybrid and electric vehicles require their own instructions; never approach high-voltage components.
Cables require an appropriate supporting power source and a permitted procedure. A portable unit requires compatibility, charging, and storage discipline. If you are unwilling or unable to follow the relevant instructions, keeping assistance contact details ready may be more useful than carrying equipment you have never learned to use.
When comparing products, write down the exact supported battery system and vehicle application, included accessories, and maintenance requirements. Do not choose solely by a large current figure on the box. Ask the manufacturer to clarify an unclear compatibility statement before buying.
Equipment you can support
You understand its approved use, can maintain it, and have a storage arrangement that meets its instructions.
Assistance first
Compatibility or procedure is uncertain, or the location makes intervention unsafe. Call for help rather than experimenting.
Choose a compact or larger kit by contents
A compact kit makes sense when it contains your essentials and remains accessible. A larger bag makes sense when it accommodates actual passenger or route needs. Neither earns a recommendation from size alone. Spread the contents of a proposed bundle into categories and ask what each item contributes.
Count complete functions rather than individual pieces. A charger without the correct cable cannot do its job. An inflator sold without its required battery is another. Identify what you must add before comparing the total purchase with a kit you assemble yourself.
Examine the organizer as carefully as the tools. Can small parts remain together? Can a wet item be separated as appropriate? Can you identify the contents without spilling them? A bag with understandable compartments may suit you better than one with a long list of inexpensive accessories.
For a family road trip, you might prioritize room for additional passenger supplies. For a small commuter car, you might choose separate compact modules: immediate-access items and less frequently needed equipment. These are organizational examples, not a claim that either arrangement covers every emergency.
Plan storage before leaving electronics in the car
Read storage limits for each powered device and battery, not just its operating range. The DEWALT DCC020IB manual, for example, specifies indoor storage away from temperature extremes for that inflator. Its portability does not establish suitability for permanent trunk storage.
Use a simple inventory card with the item name, storage location, charging or inspection instructions, and replacement date where applicable. Follow the manufacturer rather than inventing one universal charging interval. Review the card before a long trip and when seasonal conditions change.
Store equipment securely, clear of pedals and vehicle controls, using the vehicle's approved storage provisions. Do not put a loose heavy tool on a seat simply because it is easier to reach. Accessibility and secure storage need to work together.
Use this final purchase check
- Name the job each item performs and remove duplicates that add no useful capability.
- Confirm vehicle, power-source, connector, and tire compatibility where relevant.
- Check the contents of the actual package, including batteries, chargers, hoses, and cables.
- Find the manual and understand operating and storage restrictions before checkout.
- Choose a secure location and practice retrieving the equipment while safely parked.
- Keep a clear assistance plan for problems you cannot or should not handle.
Your next step is to inspect what you already carry and write down the missing functions. Buy to close those gaps, then repeat the access check with the finished kit. Useful preparation ends with equipment you understand, not merely a bag you have purchased.